User guide#
You have multiple options for installing and launching the Magnet Segmentation Toolkit:
You can install the toolkit directly in AEDT using an installation script and then launch it as a wizard. For more information, see Install toolkit in AEDT and launch the Magnet Segmentation Toolkit.
You can install the toolkit from a Python console and then launch the Magnet Segmentation Toolkit. For more information, see Install toolkit from Python console and launch the Magnet Segmentation Toolkit.
You can install the toolkit from a Python console and then use the toolkit’s APIs. For more information, see Install toolkit from Python console and use the toolkit’s APIs.
Install toolkit in AEDT and launch the Magnet Segmentation Toolkit#
You can install the Magnet Segmentation Toolkit directly in AEDT using the base interpreter from the AEDT installation.
From Install from a Python file, follow the steps to install PyAEDT inside AEDT.
In AEDT, select Tools > Toolkit > PyAEDT > Console to load the PyAEDT console:

In the PyAEDT console, run these commands to add the Magnet Segmentation Toolkit as a wizard (toolkit UI) in AEDT:
desktop.add_custom_toolkit("MagnetSegmentationWizard")
exit()
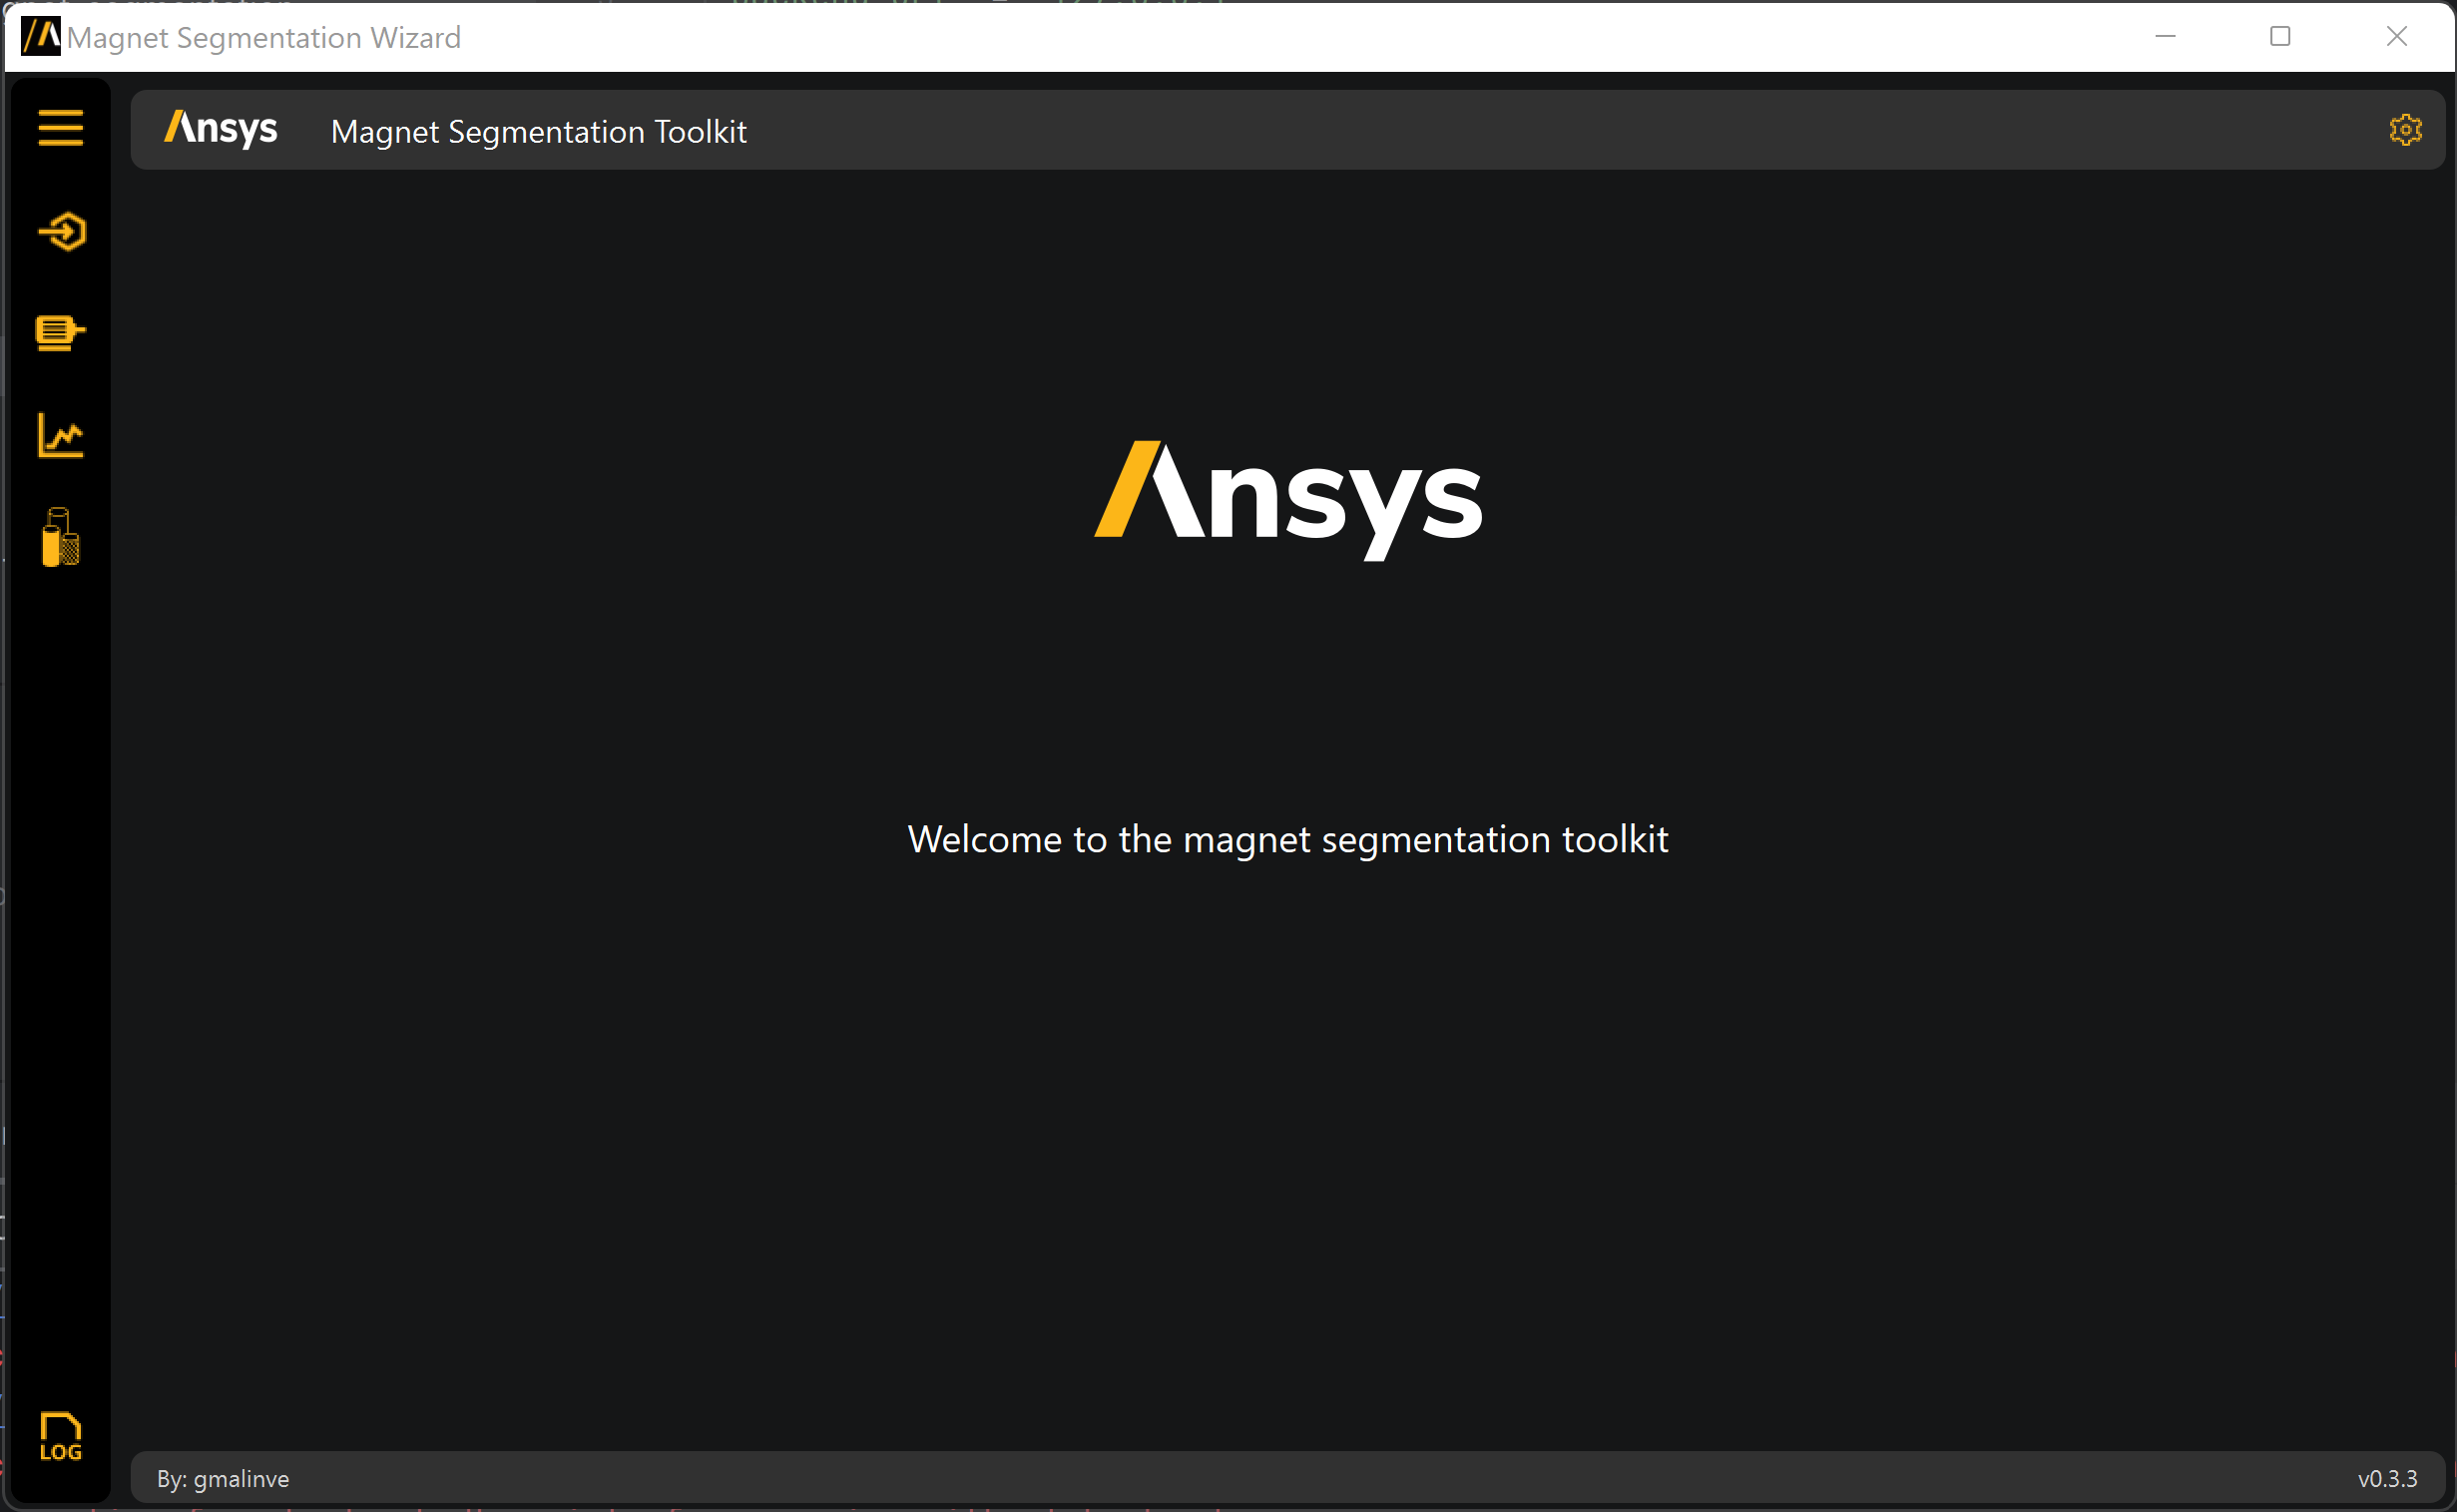
In the AEDT toolbar, click the MagnetSegmentationWizard button to open this wizard in AEDT:

The wizard is connected directly to the AEDT session. For wizard usage information, see UI reference.
Install toolkit from Python console and launch the Magnet Segmentation Toolkit#
You can install the Magnet Segmentation Toolkit in a specific Python environment from the AEDT console.
Note
If you have an existing virtual environment, skip step 1.
Note
If you have already installed the toolkit in your virtual environment, skip step 2.
Create a fresh-clean Python environment and activate it:
# Create a virtual environment
python -m venv .venv

# Activate it in a POSIX system
source .venv/bin/activate

# Activate it in a Windows CMD environment
.venv\Scripts\activate.bat

# Activate it in Windows PowerShell
.venv\Scripts\Activate.ps1
Install the toolkit from the GitHub repository:
python -m pip install ansys-magnet-segmentation-toolkit
Launch the Magnet Segmentation Toolkit Wizard:
python .venv\Lib\site-packages\ansys\aedt\toolkits\magnet_segmentation\run_toolkit.py
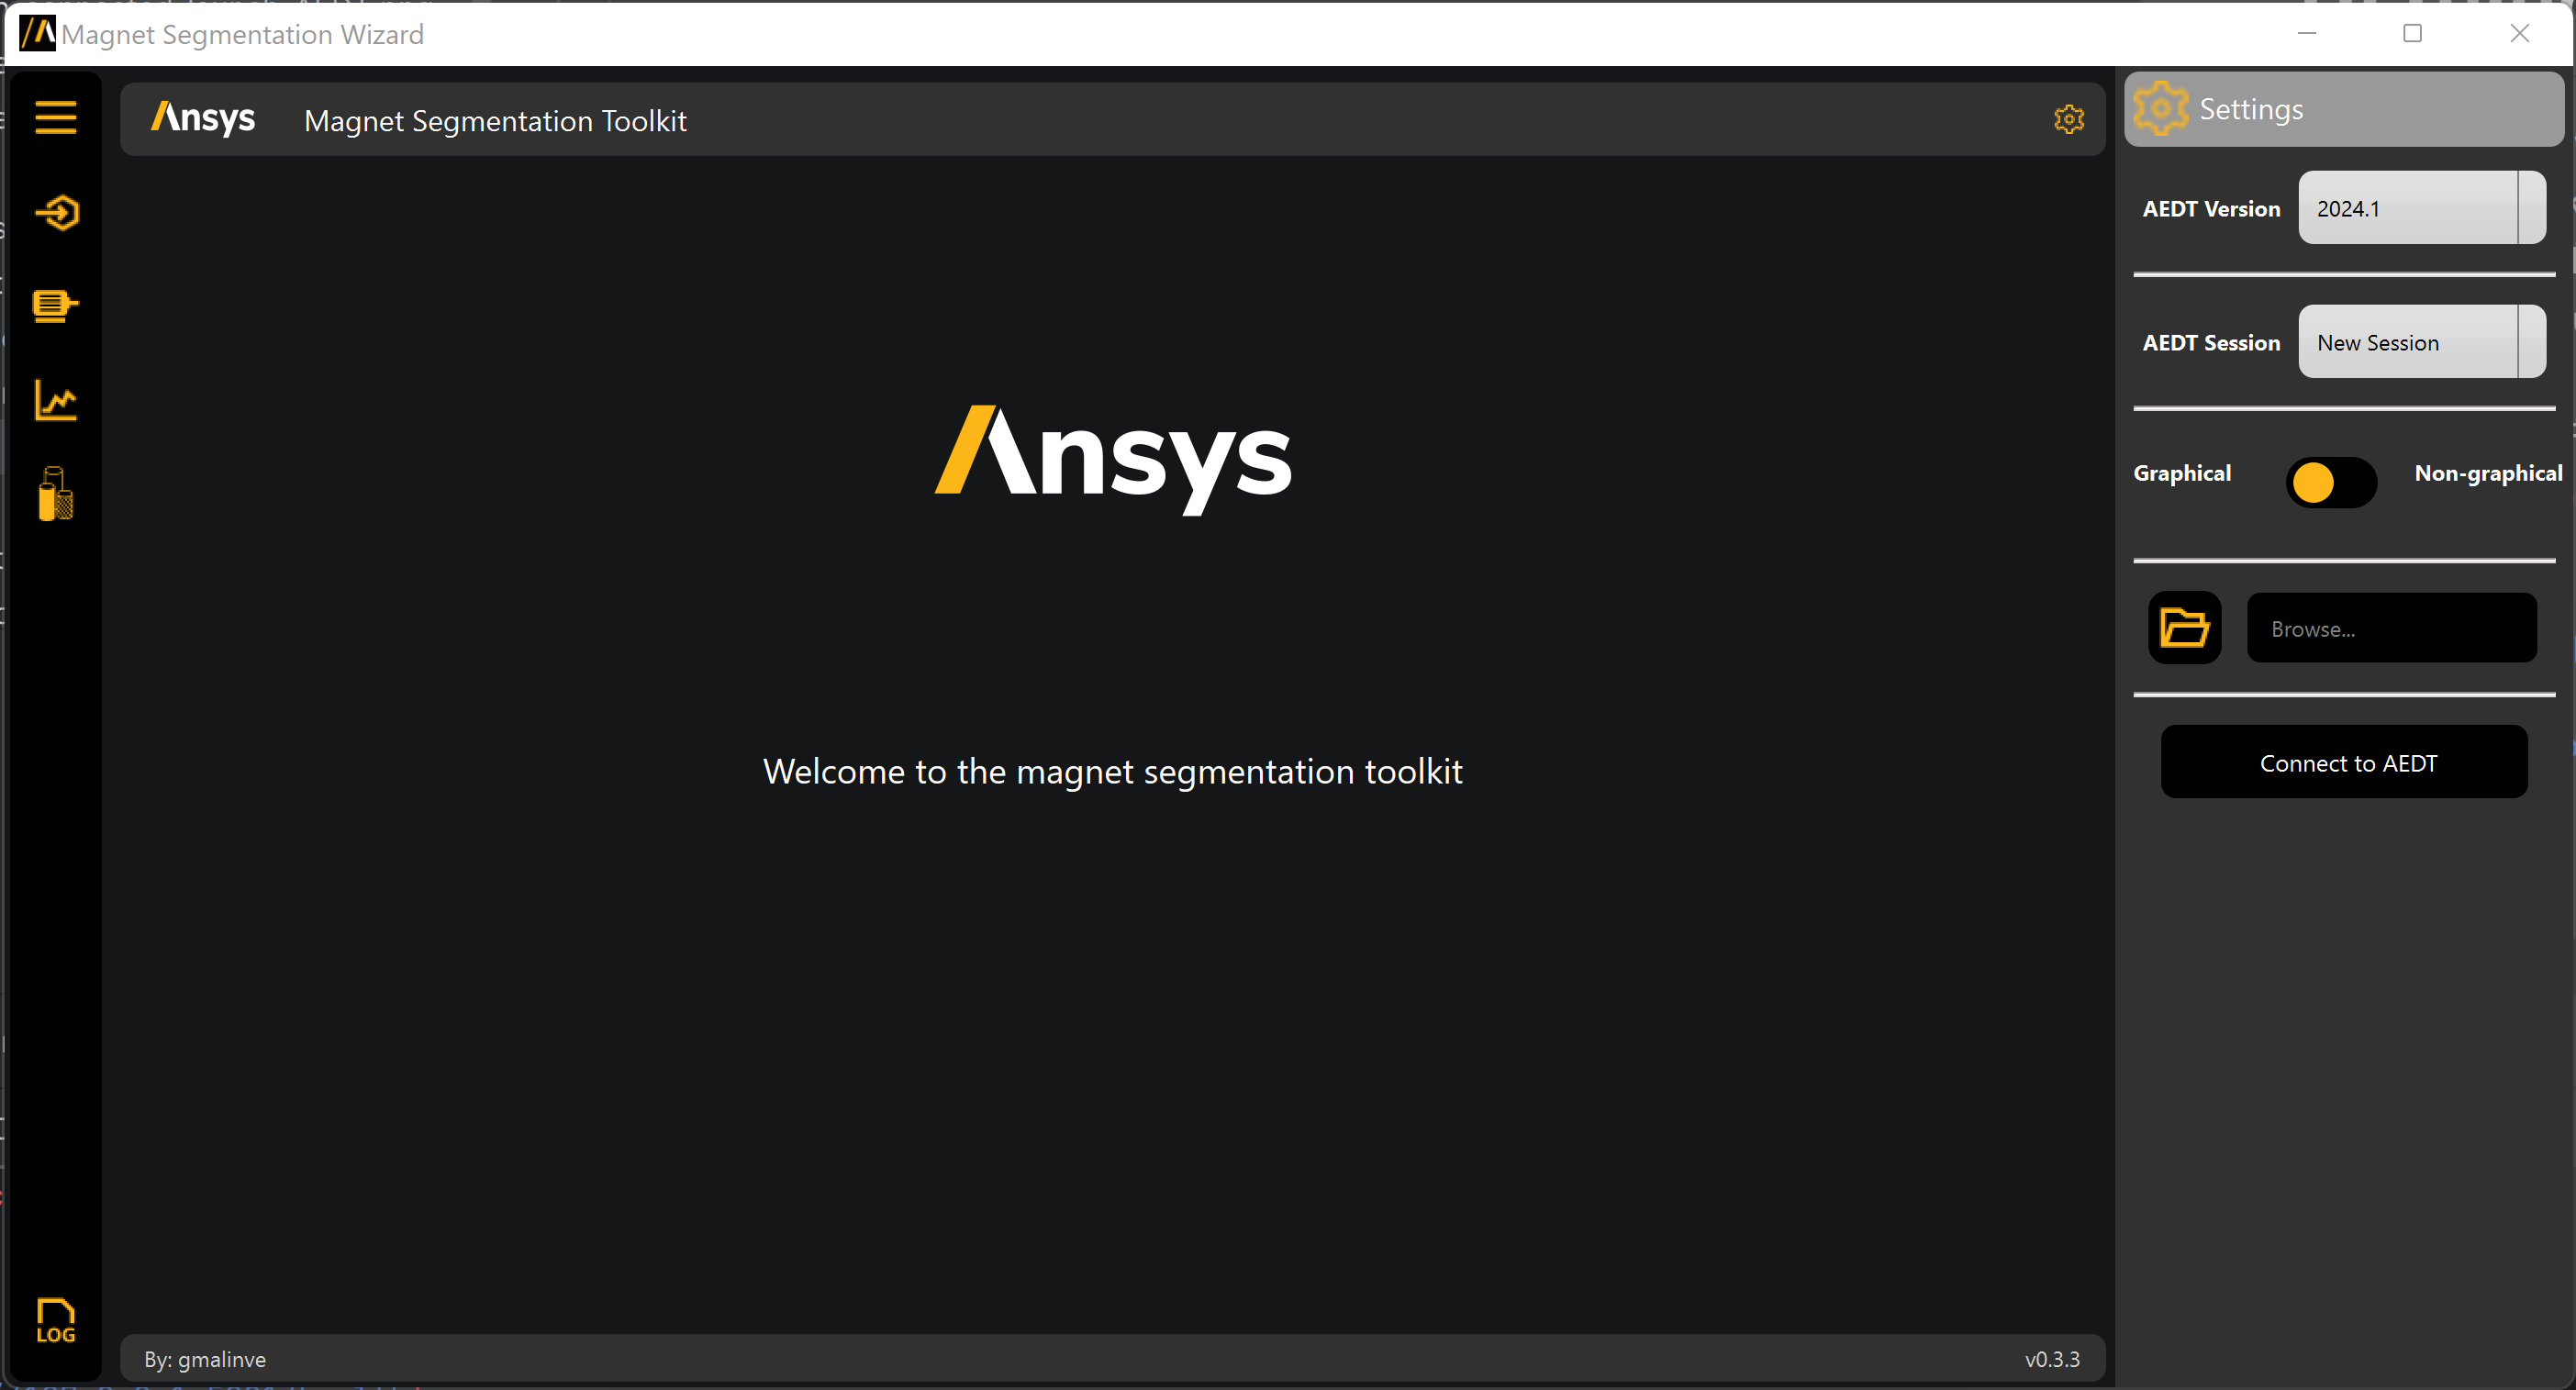
On the AEDT Settings tab, create an AEDT session or connect to an existing one:

For wizard usage information, see UI reference.
Install toolkit from Python console and use the toolkit’s APIs#
You can install the toolkit in a specific Python environment and use the toolkit’s APIs. The code example included in this topic shows how to use the APIs at the model level and toolkit level.
Note
If you have an existing virtual environment, skip step 1.
Note
If you have already installed the toolkit in your virtual environment, skip step 2.
Create a fresh-clean Python environment and activate it:
# Create a virtual environment
python -m venv .venv

# Activate it in a POSIX system
source .venv/bin/activate

# Activate it in a Windows CMD environment
.venv\Scripts\activate.bat

# Activate it in Windows PowerShell
.venv\Scripts\Activate.ps1
Install the toolkit from the GitHub repository:
python -m pip install ansys-magnet-segmentation-toolkit
Open a Python console in your virtual environment:
python
From the command line, use the toolkit to perform segmentation and skew.
Use the toolkit’s APIs to import the toolkit, launch AEDT, open a 3D motor model, and then segment and skew this model in Maxwell 3D:
# Import backend services
from ansys.aedt.toolkits.magnet_segmentation.backend.api import ToolkitBackend

# Backend object
toolkit = ToolkitBackend()

# Get service properties
properties = toolkit.get_properties()

# Define properties

properties["active_project"] = active_project
properties["active_design"] = active_design
properties["design_list"] = {active_project: [active_design]}
properties["is_skewed"] = False
properties["rotor_material"] = "M250-35A_20C"
properties["stator_material"] = "M250-35A_20C"
properties["magnets_material"] = "N30UH_65C"
properties["magnet_segments_per_slice"] = 2
properties["rotor_slices"] = 2
properties["apply_mesh_sheets"] = True
properties["mesh_sheets_number"] = 3

# Set service properties
toolkit.set_properties(properties)

# Launch AEDT, open project and connect to Maxwell3d design
toolkit.launch_aedt()
toolkit.open_project(aedt_file)
toolkit.connect_design("Maxwell3D")

# Segment and skew motor
toolkit.segmentation()
toolkit.apply_skew()

# Release AEDT
service.release_aedt()
For descriptions of the APIs available for the Magnet Segmentation Toolkit, see API reference.

